
Last updated September 20, 2026
Full 25-point door and opener safety check with every visit - springs, cables, rollers, tracks, and your LiftMaster or Chamberlain opener included
You get a price before we start. It does not change when the truck arrives.
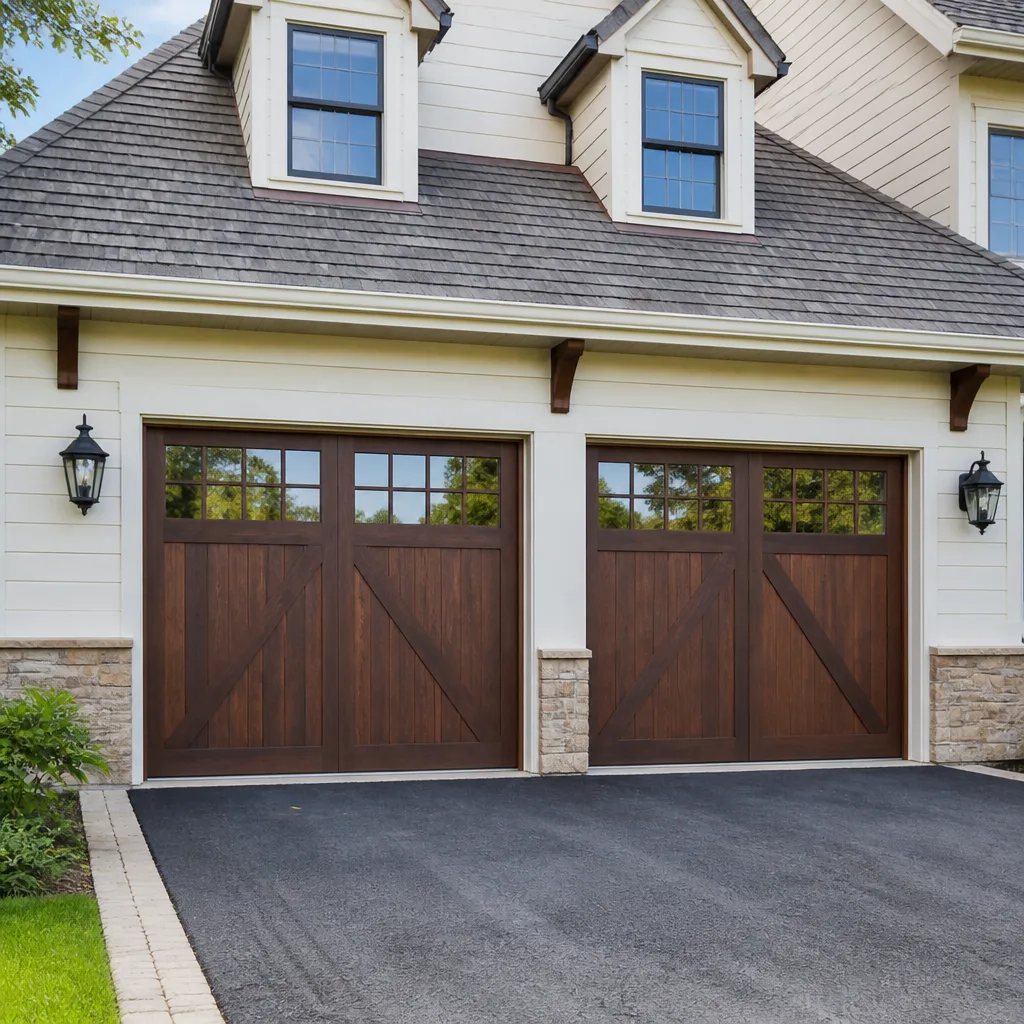
Modern flush

LiftMaster openers
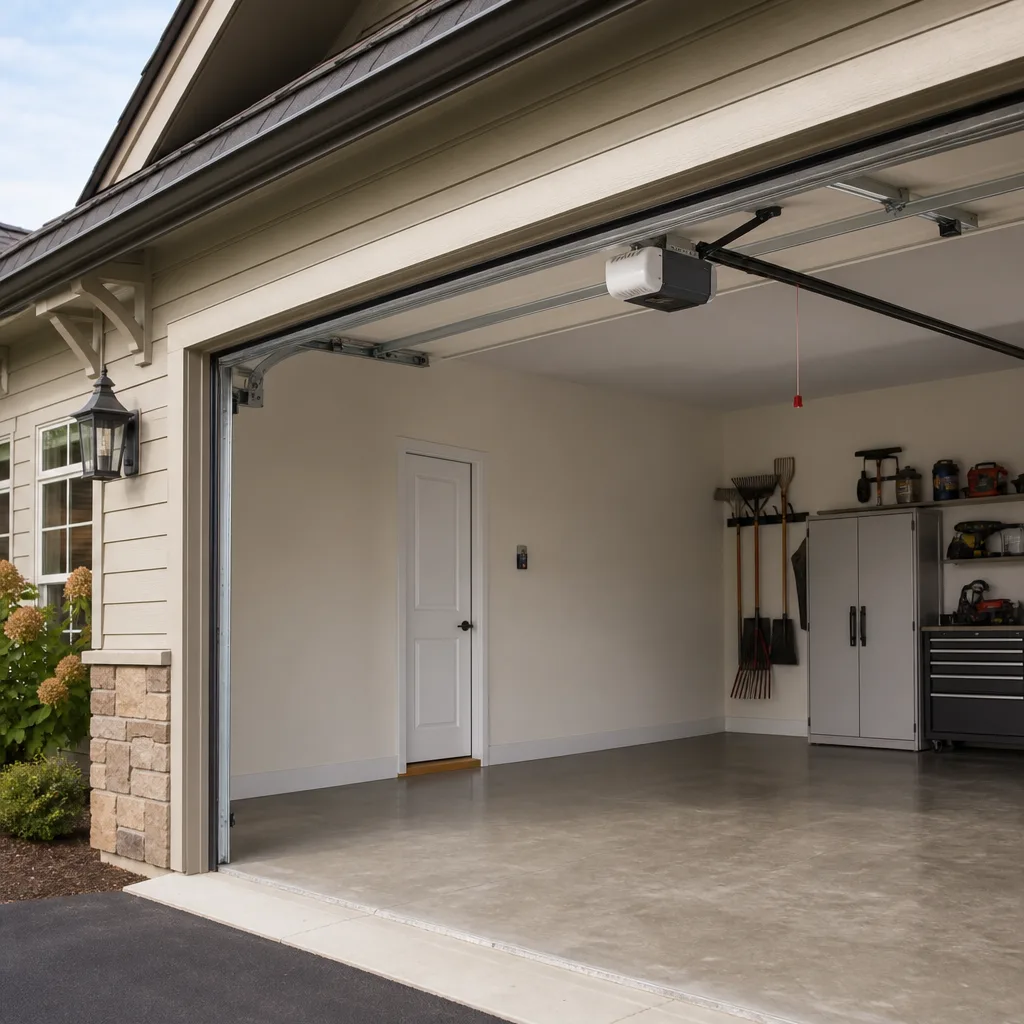
 Before
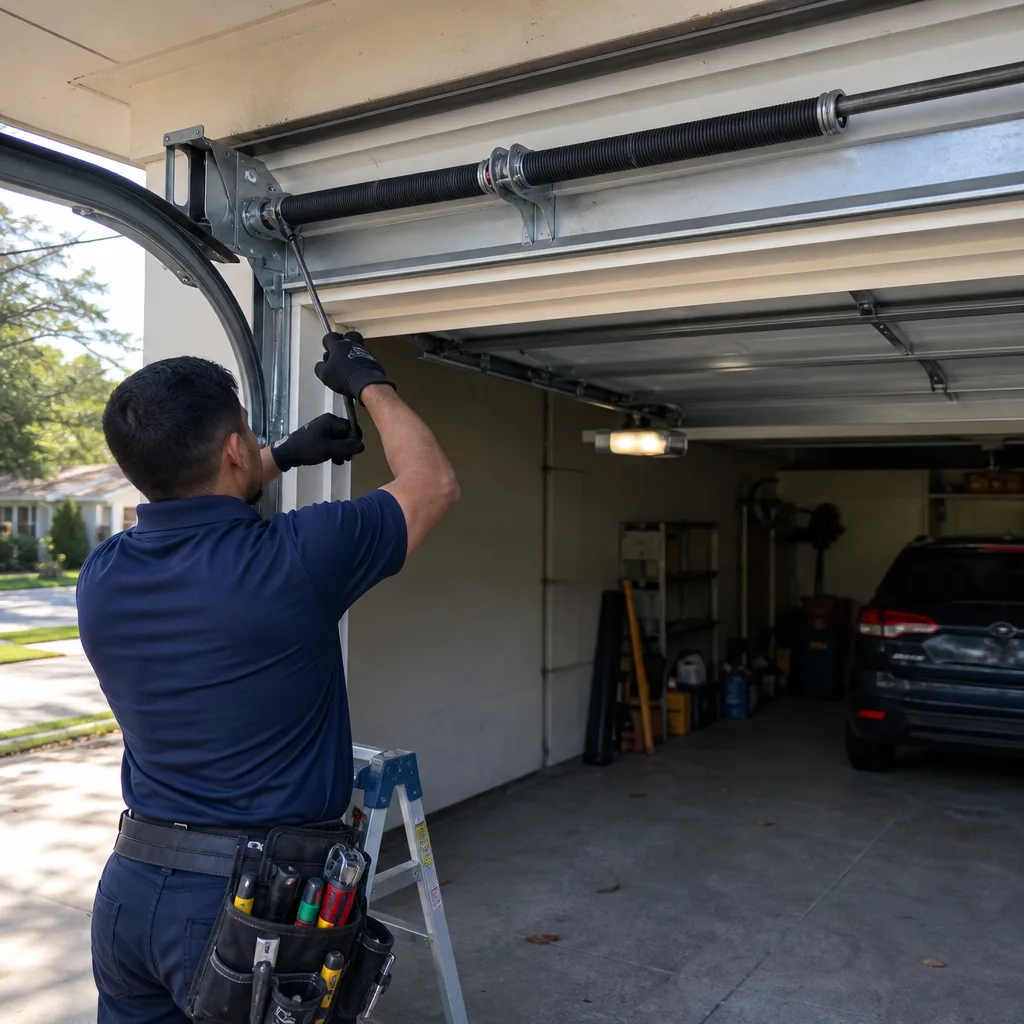 After
After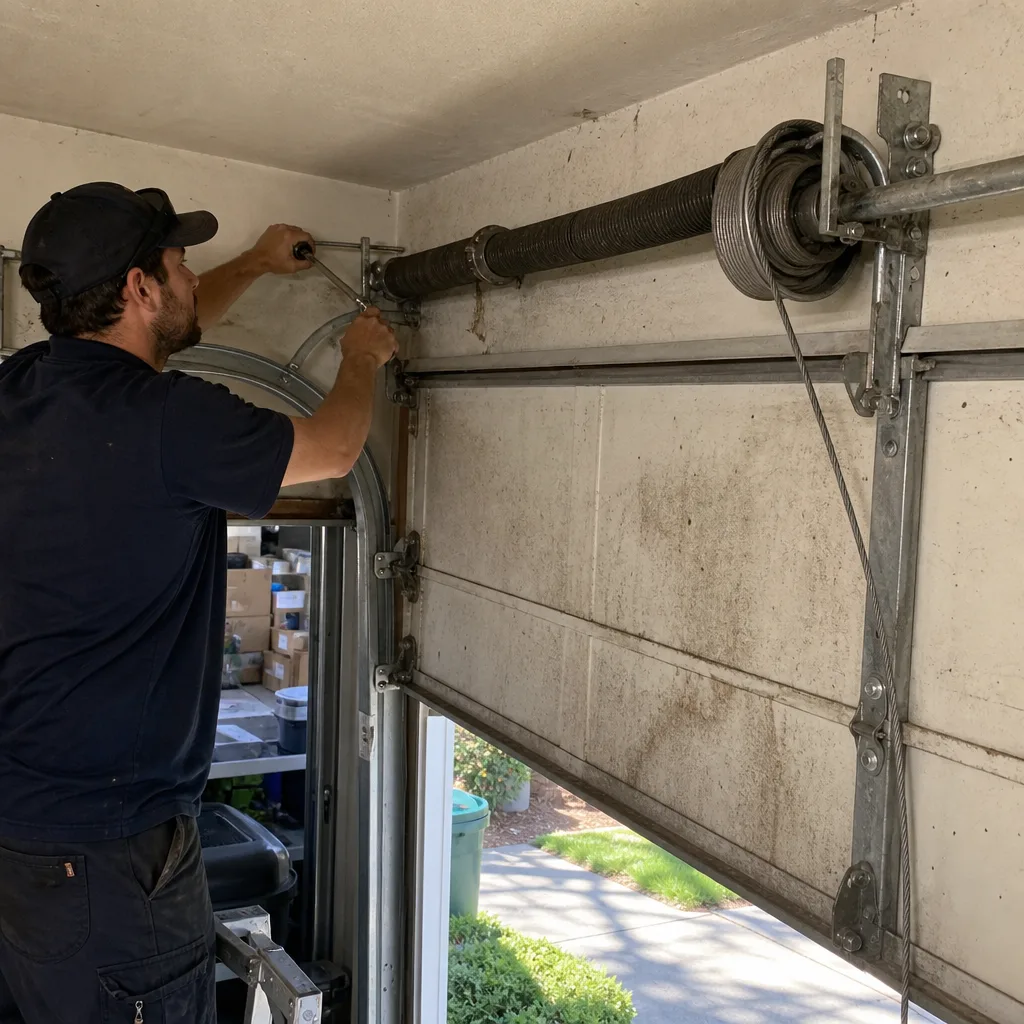 Before
 After
After Before
 After
AfterGarage Door Repair Maintenance Checklist for Sandy Springs Homeowners
Most published garage door checklists tell you to “check the springs for wear.” They don’t tell you what worn looks like, how to measure it, or when worn becomes dangerous. In Sandy Springs, where summer humidity saturates metal components from June through September and January nights dip below freezing, a vague checklist is about as useful as no checklist at all. This guide assigns pass/fail thresholds to every inspection point on your door, from spring coil spacing to cable fray depth, so you can make a go/no-go call without guessing. You’ll learn which five checks take fifteen minutes with basic tools, which two tasks carry documented injury risk, and how to log findings in a way that holds up if a warranty question ever lands on your kitchen table.
Quick Answer
A garage door maintenance checklist for Sandy Springs homeowners should include five measurable checks performed twice a year: spring coil spacing (pass = even gaps, fail = uneven or >1/8 inch variance), cable fray inspection (pass = zero broken strands, fail = any visible fraying), balance testing (pass = door holds at half-open without drifting more than 3 inches, fail = drifts down or up), track alignment (pass = gap between roller and track under 1/4 inch, fail = visible wear marks or binding), and roller condition (pass = smooth operation, fail = flat spots or wobble). Homeowners can safely perform these checks with a wrench set, level, tape measure, and lithium-based lubricant. Any cable or spring work requires a trained technician; the torsion spring assembly holds enough stored energy to cause serious injury or death if mishandled. For professional help, contact a Garage Door Repair specialist.
Table of Contents
- Why Maintenance Matters More in Sandy Springs
- Tools You Need and When to Use Them
- Torsion Spring Inspection: What Worn Actually Looks Like
- The Balance Test: How to Perform It and Read the Result
- Cable Inspection: Fray Thresholds That Trigger Action
- Track and Roller Checks: Gap Tolerances and Wear Patterns
- Lubrication and Cleaning: What to Use, What to Skip
- The Log Sheet: Recording Findings That Matter
- Common Mistakes to Avoid
- When to Call a Professional
- Frequently Asked Questions
- The Bottom Line
BeforeAfterWhy Maintenance Matters More in Sandy Springs
Sandy Springs sits in a climate band that treats garage door components like a stress test. From late May through September, relative humidity routinely exceeds 70 percent, which means rust forms on untreated steel parts faster than it does in drier metro areas like Denver or Phoenix. Torsion springs, the counterweight system above the door opening, are typically made of oil-tempered steel that resists corrosion until surface wear exposes fresh metal. Once that happens, oxidation works into the coil structure and a spring that measured fine in April can snap in July. We’ve replaced springs in Sandy Springs neighborhoods like Dunwoody Panhandle and Riverside that showed corrosion patterns consistent with years of humid summers and no lubrication.
January adds a second variable. The brief freeze cycles common in Sandy Springs, where temperatures cross 32°F overnight and rebound by afternoon, create condensation inside the tracks and on the rollers each morning. That condensation mixes with the dust and grit that accumulates on the track, turning it into a mild abrasive slurry. Rollers with nylon tires handle this better than steel rollers, which wear flat spots faster in these conditions. Homeowners in the north Sandy Springs area, including the Huntcliff and North Springs neighborhoods, report more winter roller noise than those closer to the Perimeter, likely due to slightly lower overnight temperatures and frost formation on exposed metal.
The point is not that Sandy Springs is uniquely hostile to garage doors. It’s that the maintenance cycle here is predictable. If you check springs and cables after the humidity peaks in late September, and again after the last January freeze, you catch most failures before they strand a vehicle or, worse, send a door crashing down.
The Five Tools You Need and When to Use Them
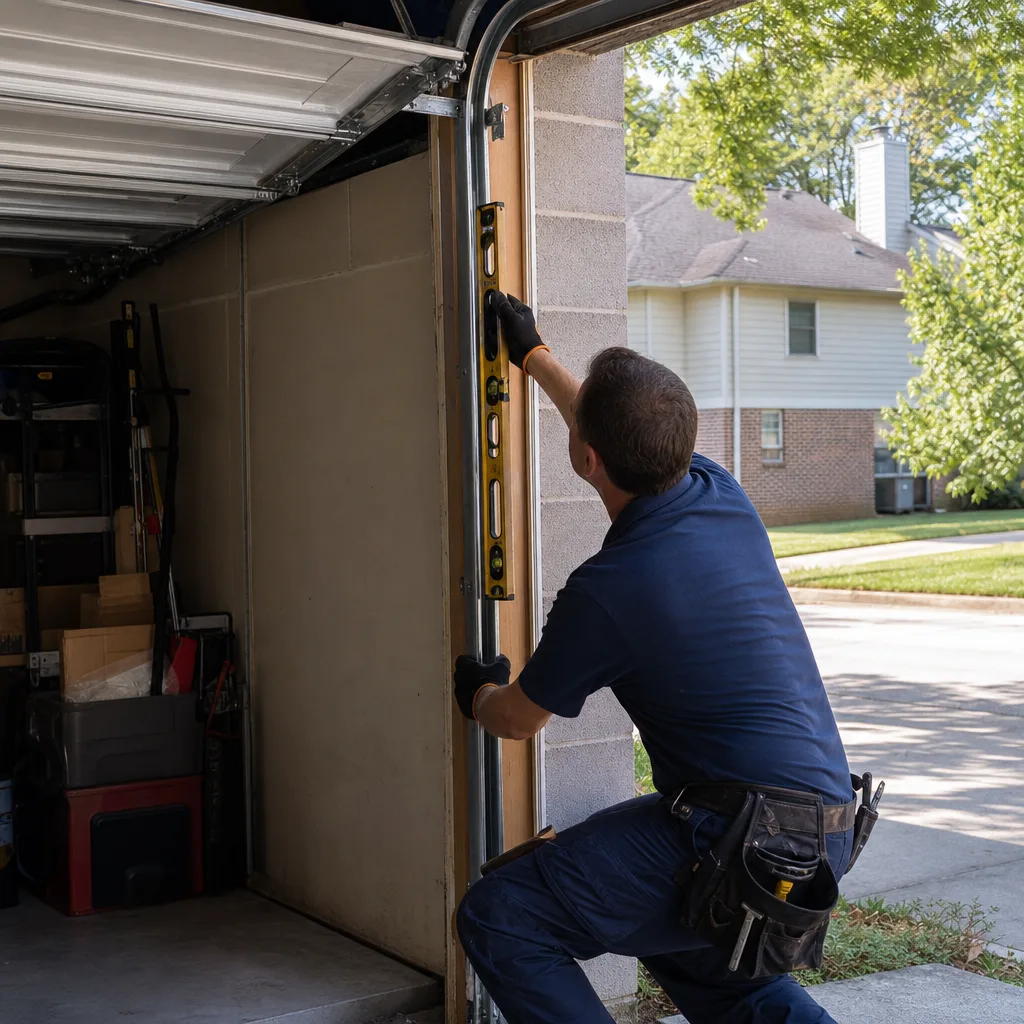
You don’t need a technician’s truck to perform these checks. You need five items, most of which are already in a Sandy Springs garage: a 6-foot step ladder, a tape measure, a 4-foot level, a standard wrench set (7/16-inch and 1/2-inch wrenches cover most common hardware), and a can of lithium-based white lithium grease or a silicone-based spray lubricant. Do not use WD-40 on any garage door component. It’s a solvent and water displacer, not a lubricant, and it strips existing lubrication from hinges and rollers.
Timing matters more than frequency. Perform the full checklist twice per year: once in late September or early October, after the summer humidity breaks, and once in late February, after the last freeze cycle. Door usage in Sandy Springs also peaks during school-year commutes, so checking in August before routines shift can catch wear before it compounds. For households with a single-car garage door cycled four to six times daily, spring life typically ranges between 10,000 and 15,000 cycles; at that rate, you’re looking at roughly seven to ten years of service before replacement is due. Logging each check helps you track how many years of use you’ve extracted from a spring set.
Torsion Spring Inspection: What Worn Actually Looks Like
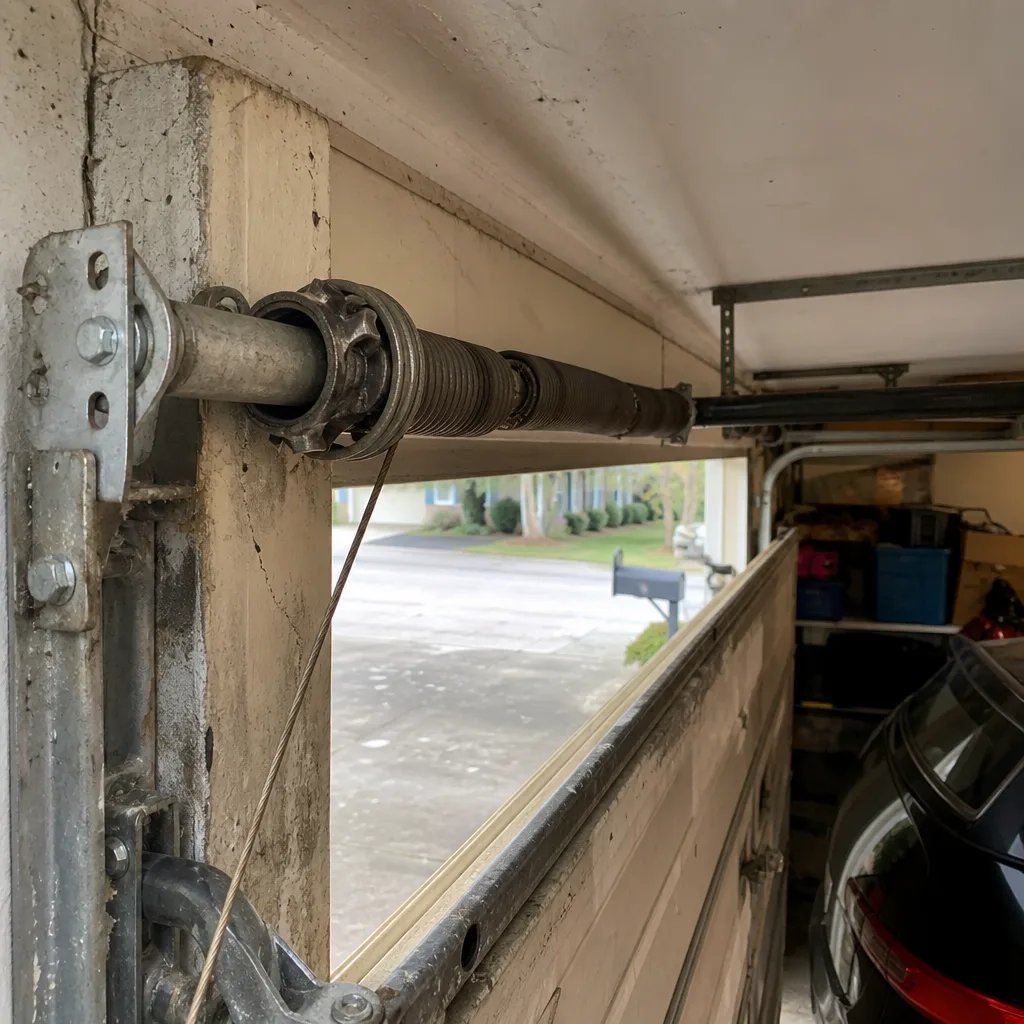
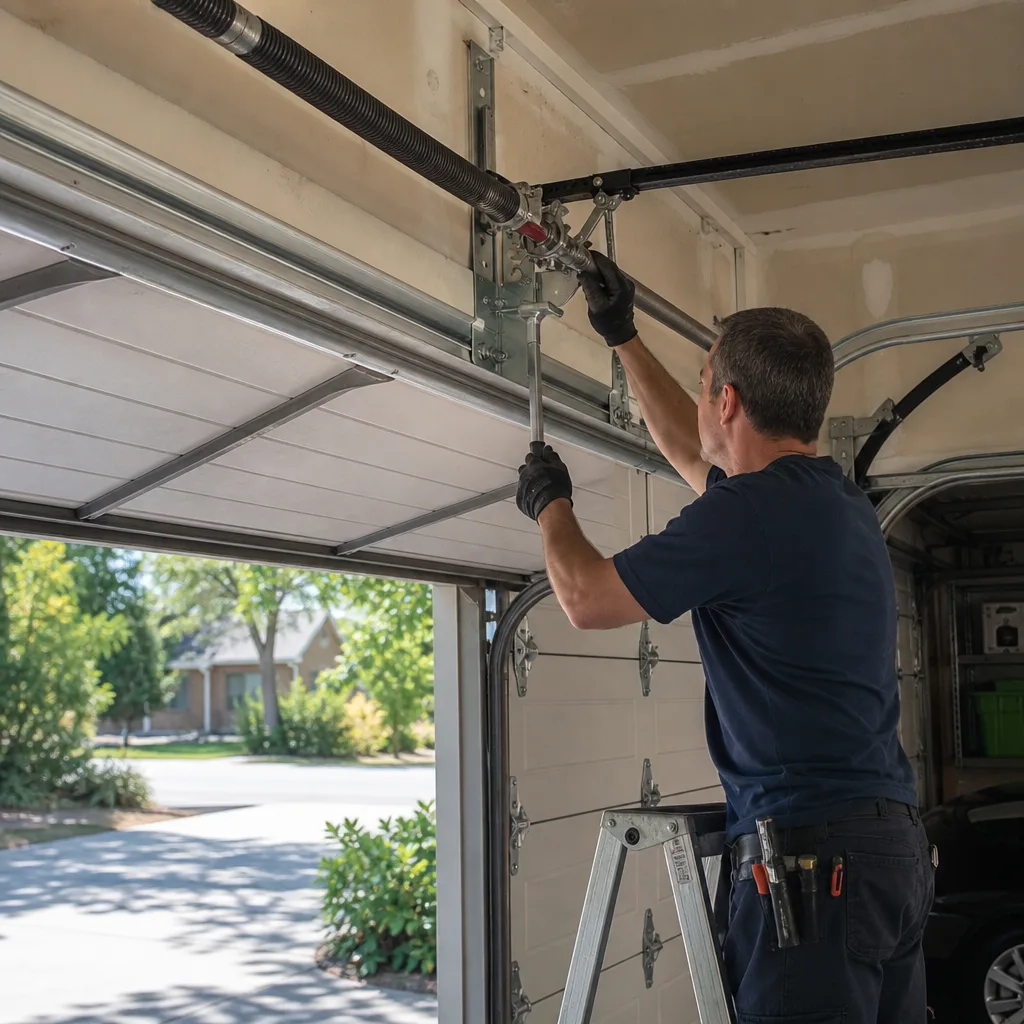
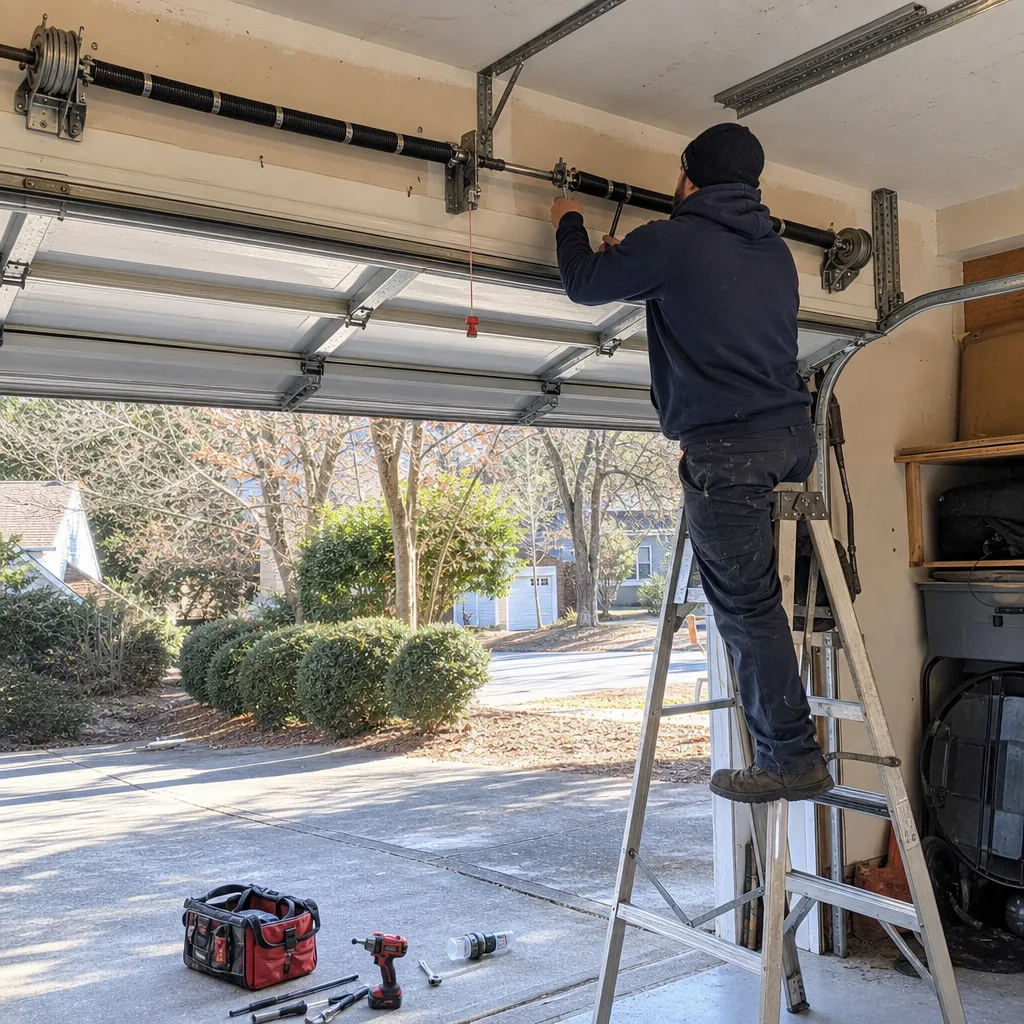
The torsion spring is the coiled steel bar mounted horizontally above the door opening, supported by a center bracket and two end plates. It stores the mechanical energy that lifts the door; when the door is closed, that energy is fully wound and under maximum tension. The spring is where most catastrophic failures occur, and where most checklist advice fails. “Check for wear” without a threshold is meaningless. Here’s what to measure.
Step one: close the door completely. Wipe the spring with a dry rag, working from the center bracket outward. If the rag comes away with heavy orange or brown residue, that’s surface rust, not yet a structural problem. Now look at the coils themselves. A healthy torsion spring has even spacing between each coil, with a gap that matches the wire diameter. What you’re checking for is coil separation: any visible gap wider than the others, any coil that appears stretched, or any coil that sits at a visibly different angle. These indicate metal fatigue and mean the spring is failing, not failing soon. A spring with uneven coil spacing has already begun to lose tension and should be replaced.
Step two: measure the spring’s wire diameter, if you can access it safely. Most residential doors in Sandy Springs use springs with a wire diameter between 0.207 and 0.250 inches. You won’t need to know the exact spec; you’re checking for deformation. Run a flat hand along the spring from center to end without touching the coils directly. Any bump, flat spot, or section that feels different from the rest indicates internal fatigue. If you see a gap in the coils or a clean break, leave the door closed and call a technician. Do not attempt to open the door manually, and do not stand under the spring. A broken torsion spring can release stored energy with enough force to cause serious injury.
The Balance Test: How to Perform It and Read the Result
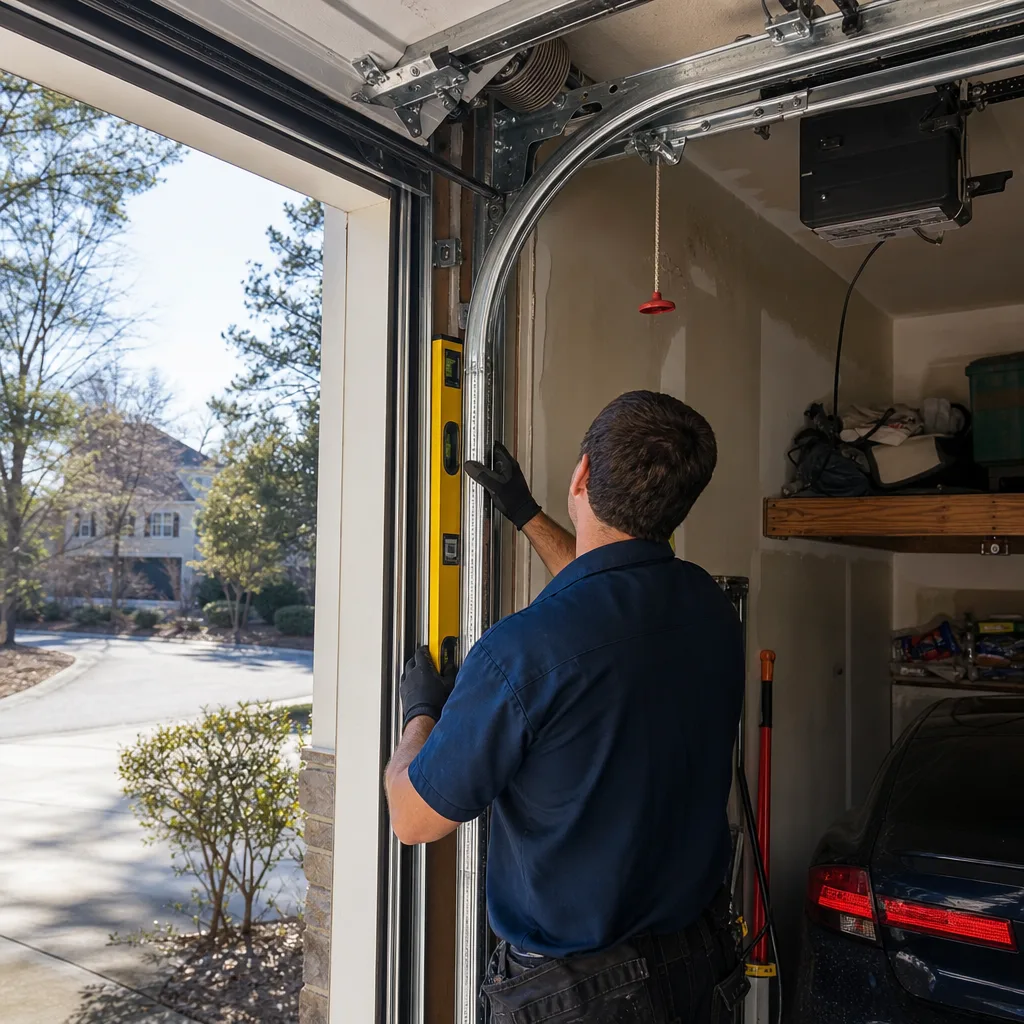
The balance test answers one question: is the spring doing its job? When a torsion spring set is correctly tensioned, the door should hold at the halfway point without drifting more than three inches in either direction. Here’s the procedure, because how you test changes what the result means.
Start with the door fully closed. Pull the red emergency release handle, which disconnects the door from the opener carriage. Manually lift the door to the halfway point, roughly waist height, and release it. A correctly balanced door stays within three inches of that position. If the door drifts down more than three inches, the springs are under-tensioned, which means they’re carrying less of the door’s weight than they should. The opener motor is compensating, and that’s why the motor runs hot and the gear wears faster. If the door drifts upward, the springs are over-tensioned, which can cause the door to fly open when released from the opener, a genuine safety hazard.
A door that settles slowly to the floor from halfway is not “fine.” That drift indicates the spring has lost roughly ten to fifteen percent of its design tension. You’ll hear it in the opener motor: grinding, laboring, a change in pitch. The opener is now lifting more weight than it was rated for, and the gear-driven carriage, typically a plastic gear inside the motor housing, is wearing prematurely. A door that drifts down three to six inches needs a spring re-tension, which is a technician adjustment that takes under an hour. A door that won’t hold at all needs a new spring set.
One note on safety: after finishing the balance test, re-engage the opener carriage by running the opener once with the door connected. If you leave the emergency release pulled, the door can free-fall if a spring fails.
Cable Inspection: Fray Thresholds That Trigger Action
The lifting cables are the two steel wires that run vertically along each side of the door, spooling onto drums at the top. When a torsion spring breaks, these cables are what remain connected to the door’s bottom brackets, and they’re under enormous load. Cable failure is the second most common cause of a dropped door, and it’s almost always preceded by visible fraying. The question is: how much fraying is acceptable?
The answer is zero. Unlike a rope, a garage door cable is made of multiple strands twisted together; the strength comes from the combined cross-section of every strand. When one strand breaks, lose up to seven percent of the cable’s load capacity, and the remaining strands redistribute that load unevenly. That uneven distribution causes accelerated wear on adjacent strands, which means a cable with one broken strand is measurably closer to failure than it was a week ago. The correct pass/fail threshold: if you can see any broken strand, any flat section, or any kink in the cable, it fails. Replace it.
Look for these specific patterns when you inspect the cables. Check the bottom bracket connection first, where the cable attaches to the door’s lower corner. This is the highest-stress point and where most corrosion initiates in Sandy Springs due to splash-back from rain and humidity wicking up from the concrete. Run your eye up the cable to the drum at the top. Watch for sections that look white or gray, which indicates the galvanized coating has worn through and the steel underneath is oxidizing. On doors with a torsion spring system, the cables should be taut and evenly spooled on both drums. If one side is slack while the door is closed, the drum has slipped or the cable has stretched, and the door is now lifting unevenly.
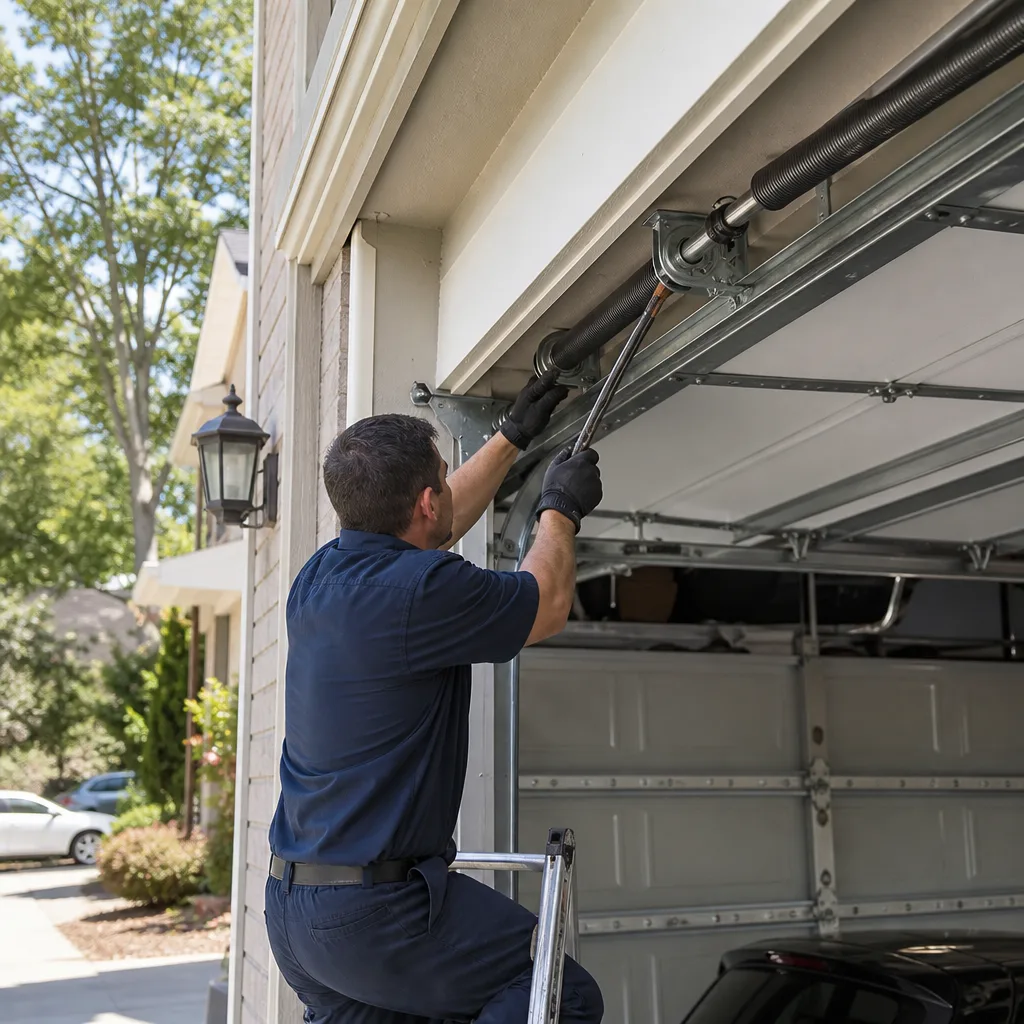
Cable work is not a DIY project. Replacing a cable requires unwinding the spring tension, which means working with the same stored energy that makes torsion springs so dangerous. If your cable inspection turns up a fray, a kink, or slack, leave the door closed and call a technician. That’s the call that keeps the door from coming down on a vehicle or a person.
Track and Roller Checks: Gap Tolerances and Wear Patterns
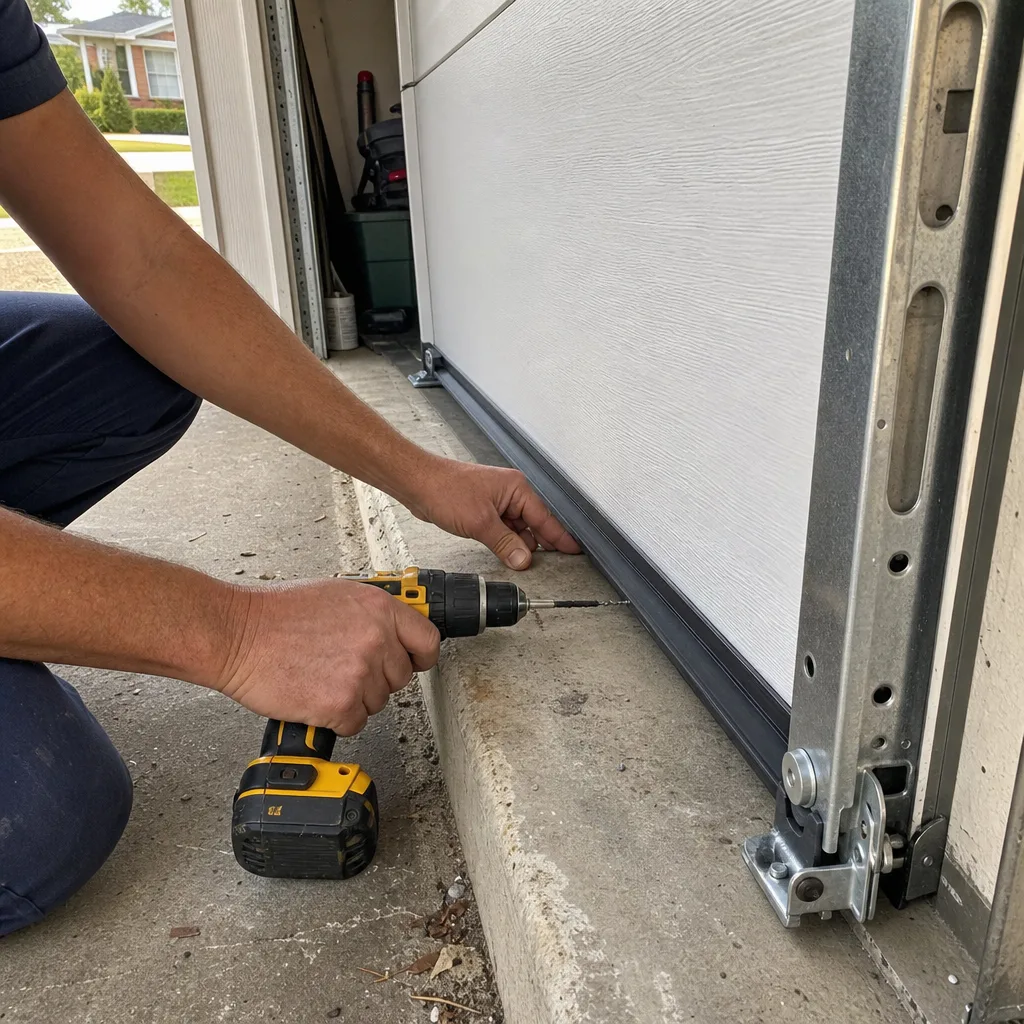
The door’s movement depends on two things staying in tolerance: the gap between the roller and the track, and the roller’s contact with the track surface. Both are measurable.
Start with the track gap. Standing inside the garage with the door closed, place your hand on the roller stem, the metal shaft that holds the roller wheel. Try to move it side to side within the track. A healthy track leaves no more than 1/4 inch of lateral play. More than that means either the track has been knocked out of alignment or the roller’s nylon tire is wearing. Both are fixable by a technician in under an hour in most Sandy Springs homes. A track that’s out of alignment by more than 1/2 inch will bind the door, and continued use will burn out the opener motor and score the track surface.
Next, inspect the track itself for wear marks. Run a flashlight along the inside edge of both vertical tracks, looking for shiny or scored sections. These indicate the roller is making contact in a spot it shouldn’t, which is usually a track alignment issue. On the horizontal tracks above the door, look for a slight downward curve; this is normal and intentional, guiding the door into the closed position. What’s not normal is a horizontal track that sags visibly or appears to be pulling away from the ceiling mounts. In Sandy Springs, where garage ceilings are often finished with drywall rather than exposed joists, a sagging track can pull the mounting lag screws loose over time. If you see drywall dust collecting on the track brackets or the screw heads are no longer flush, those mounts need reinforcement.
Roller inspection is simpler. Close the door and inspect each roller’s wheel. Nylon rollers should have a smooth, unbroken tire surface with no flat spots. Steel rollers should roll cleanly with no wobble. If you see a roller that’s stopped turning and is instead sliding on the track, it’s failed and needs replacement. Rollers wear out faster than any other component on a Sandy Springs garage door, especially on doors facing west, where afternoon sun heats the metal and accelerates tire breakdown.
Lubrication and Cleaning: What to Use, What to Skip
Most garage door maintenance articles tell you to “lubricate all moving parts.” That’s blurry advice that leads to over-lubrication, which is worse than none. Lubricant attracts dust, and in Sandy Springs, where pollen season runs from February through May, that dust is persistent and gritty. Here’s the specific protocol.
Lubricate exactly three things: the torsion spring, the hinges, and the roller bearings. Use a lithium-based grease for the torsion spring, applied in a thin, even coat across all coils. Use the same grease or a silicone spray on the hinge pivot points, one drop per hinge. For the rollers, apply a small amount of lubricant to the bearing at the center of the wheel, not the tire. The tire is what grips the track; a lubricated tire causes the roller to slide instead of roll, which wears the tire flat in a matter of months.
Do not lubricate the track. The track is designed to be a clean, dry surface. Oiling the track is the single most common homeowner mistake we see in Sandy Springs, perhaps because it feels intuitive. An oiled track attracts dust, dust turns to a paste with summer humidity, and the paste abrades the roller tires. If the track is dirty, clean it with a dry rag and, if needed, a mild degreaser wiped off completely. No lubricant belongs on the track, ever.
Do not lubricate the opener’s chain or belt. If your opener uses a chain drive, the chain comes pre-lubricated from the factory and needs no additional oil. Adding lubricant causes drips onto the door or the car below. Belt drives need no lubrication at all; the belt is fiber-reinforced rubber. Wipe the belt clean if it’s dirty, but leave it dry.
The Log Sheet: Recording Findings That Matter
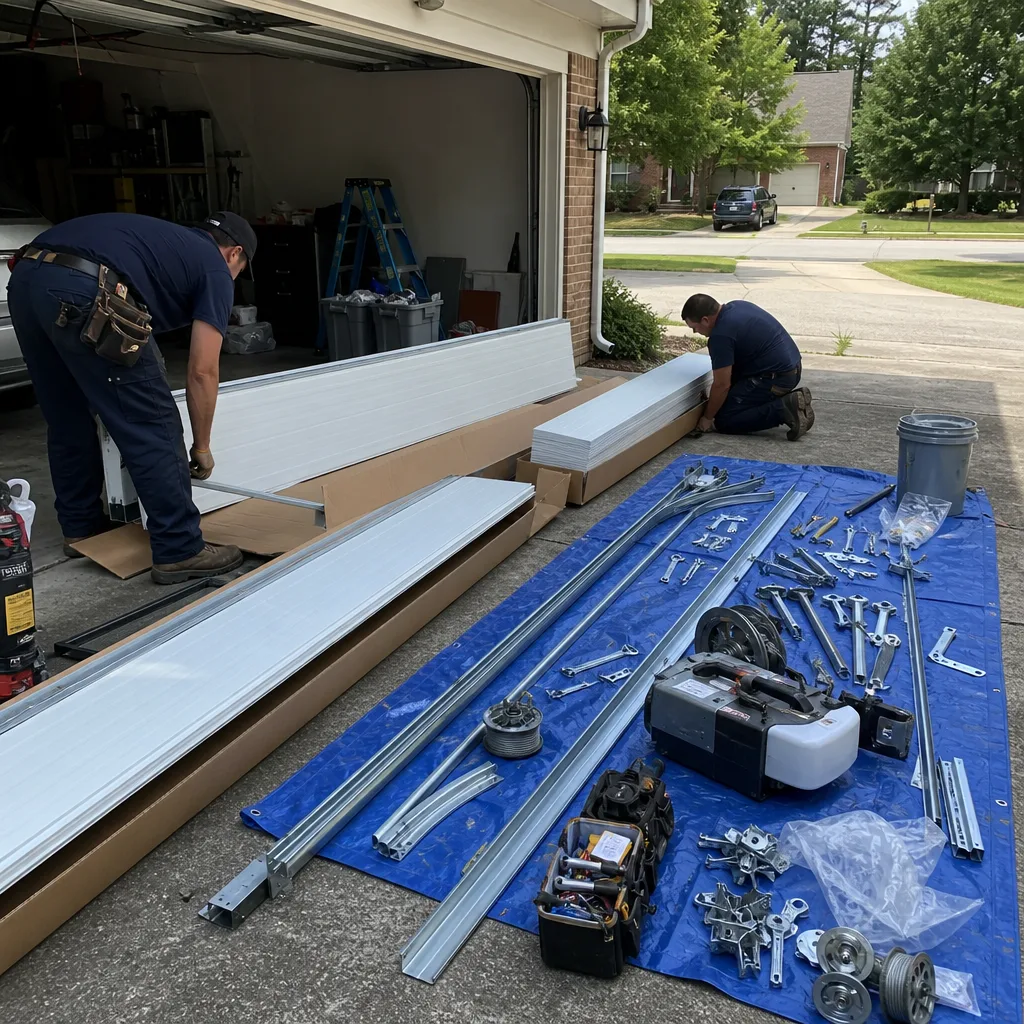
A checklist without a record is a list of things you looked at once. The value comes from the log, because it shows change over time, and change over time is what predicts failure. Here’s the format we recommend to every Sandy Springs homeowner who calls us for a second opinion or a post-warranty conversation.
Create a simple table with five columns: date, inspection point, measurement or finding, pass/fail, and action taken. For each inspection, record the spring coil spacing, the cable fray count, the balance test drift in inches, the track gap measurement, and the roller condition. A typical entry looks like this:
- Date: October 2, 2025
- Spring coils: Even spacing, no deformation
- Cable fray: 0 broken strands both sides
- Balance test drift: 1.5 inches downward
- Track gap: 1/8 inch, no binding
- Rollers: All rolling, no flat spots
- Action: None, next check late February
The drift measurement is the most valuable data point over time. A door that drifted 1.5 inches in October 2025 and 2.5 inches in February 2026 is losing tension progressively. That tells you a spring replacement is coming within the next year, not within the next month, and you can budget for it instead of being surprised by it. If a warranty question arises, this log demonstrates maintenance was performed, which matters for manufacturers that condition coverage on proper upkeep.
Keep the log taped to the inside of the garage door or stored with your home’s appliance manuals. One page covers two years of checks. The habit takes fifteen minutes twice a year, and it’s the difference between finding a problem early and finding it when the door won’t open on a Monday morning.
Common Mistakes to Avoid
- Lubricating the track. Oil on the track holds dust, and dust turns to grinding paste in Sandy Springs humidity. Wipe the track dry, always.
- Checking springs by looking only at the outside coils. The center section of a torsion spring is where breaks typically occur. Inspect from the center bracket outward, not just the ends.
- Skipping the balance test because the door “opens fine.” An opener can mask under-tensioned springs for years while the motor cooks itself. The balance test isolates spring health from opener performance.
- Replacing one spring when both are worn. Torsion springs wear at the same rate. Replace both as a set, or the new spring will carry the failing spring’s load and wear prematurely.
- Using general-purpose oil on nylon rollers. Nylon tires absorb petroleum-based oils and degrade. Use a lithium-based grease on the bearing only.
- Overlooking garage door maintenance entirely. Sandy Springs homes average three to four open-close cycles daily. At that rate, a door cycles over 1,200 times per year, and the components that are not inspected are the ones that fail without warning.
When to Call a Professional
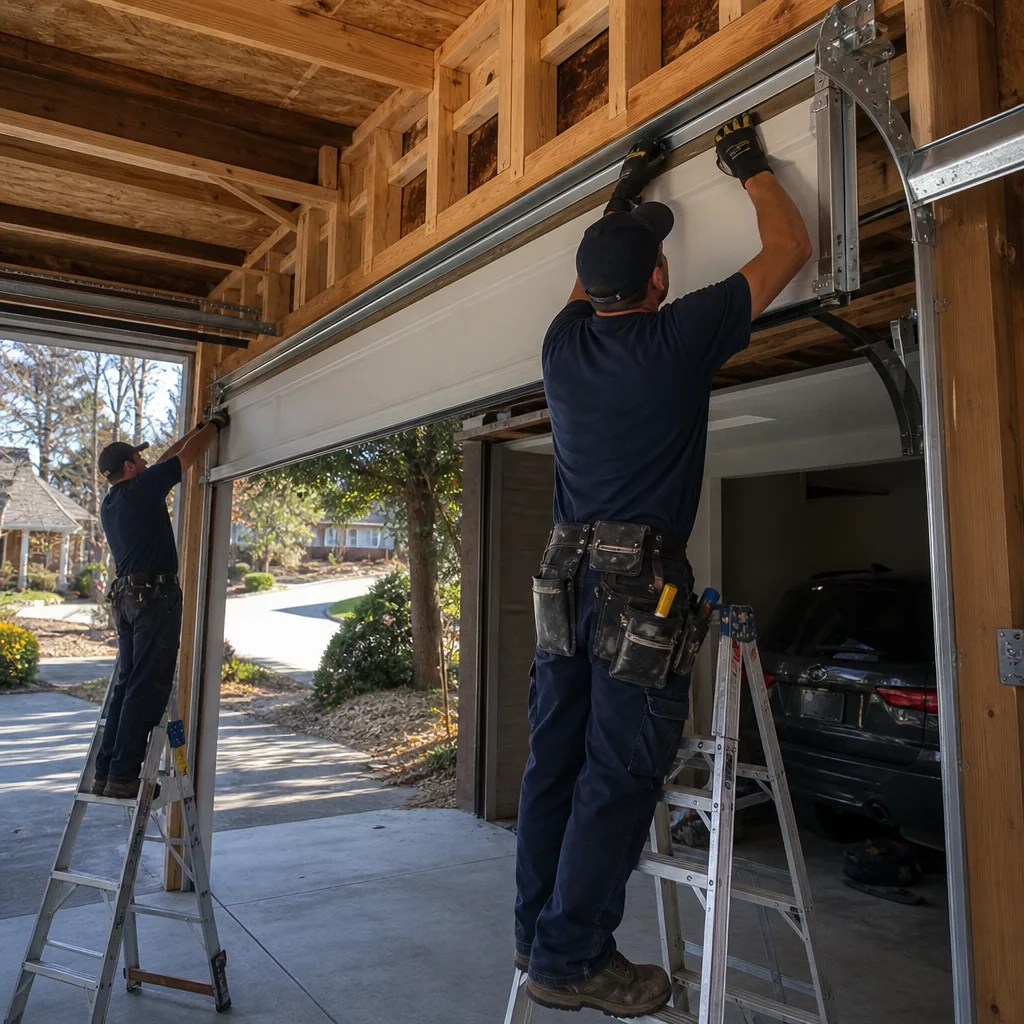
Some tasks on this checklist are safely doable with a wrench and a level. Others are not. If your spring inspection turns up a visible coil gap, a clean break, or uneven spacing, do not touch the door. Call a technician. If your cable inspection shows any broken strands or a slack cable, stay clear of the door’s path. If the balance test shows a drift over six inches, the springs need re-tensioning, which requires working with stored torsion energy. If a track is out of alignment by more than 1/4 inch, the fix involves loosening and re-torquing the lag bolts that hold the track to the wall, which can release the door if done incorrectly.
Servo Garage Doors Sandy Springs performs free estimates in Sandy Springs: we inspect the door, write down what we found, and price it flat before any work starts. Not sure how to choose a contractor? Read How to Hire a Garage Door Contractor in Sandy Springs: A Step-by-Step Guide. Call (470) 944-6743 and we’ll schedule a visit. If you bring us a written estimate from another company, we’ll give you a free second opinion, no coupon needed.
Frequently Asked Questions
Twice a year: once in late September or early October, after summer humidity peaks, and once in late February, after the last January freeze. Each check takes about fifteen minutes and covers springs, cables, balance, track, and rollers. In our experience, Sandy Springs homeowners who maintain this schedule catch most failures before they become emergencies.
The torsion spring. It stores enough energy to lift a 200-pound door, and when a spring breaks, that energy releases instantly. If you see any coil gap, uneven spacing, or surface deformation, stop and call a technician. All other inspection points, including cables, are safe to inspect visually, but do not touch or adjust a cable under tension.
Use the balance test. Disconnect the door from the opener with the emergency release cord, lift it to the halfway point, and release it. If the door drifts down more than three inches, the springs are losing tension and replacement should be scheduled. If the door holds within three inches, the springs are functioning correctly. Uneven coil spacing or visible coil gaps are also replacement indicators.
Yes. Use a lithium-based grease on the torsion spring coils, the hinge pivot points, and the roller bearings. Do not lubricate the track, the belt, or the chain. A thin coat is sufficient; over-lubrication attracts dust and accelerates wear.
A professional tune-up in Sandy Springs typically runs between $85 and $150, depending on what’s included. At Servo Garage Doors Sandy Springs, we quote a flat, written price before any work starts, per Clause 1 of The Haven Standard. For a free estimate, call (470) 944-6743.
No. Springs and cables have finite life cycles, measured in cycles and years, no matter how well they’re maintained. But regular maintenance does prevent the secondary failures: the burned-out opener motor from running against a drifting door, the stripped gear from a misaligned track, the snapped cable from a corroded bottom bracket. You extend component life and avoid the cascade failures.
The Bottom Line
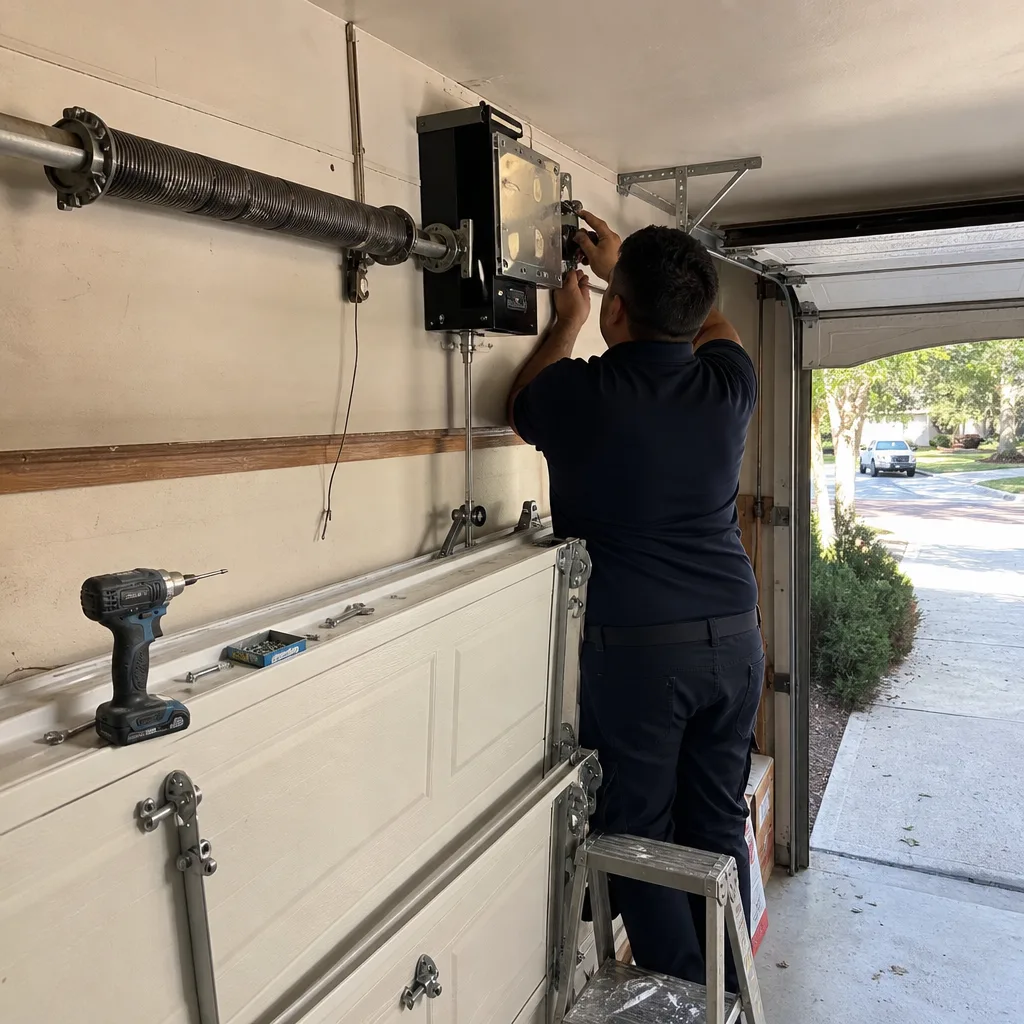
Garage door maintenance in Sandy Springs is not about eyeballing parts and guessing. It’s about measuring five specific things: spring coil spacing, cable fray count, balance test drift, track gap, and roller condition. Each has a pass/fail threshold you can apply in fifteen minutes with basic tools. Log each check, watch the drift measurement over time, and call a technician when a threshold trips. The repair is always cheaper and safer than the failure.
For a comprehensive inspection with written documentation of every finding, call Servo Garage Doors Sandy Springs at (470) 944-6743. We’ll provide a flat, written price before any work begins, and you’ll receive a documented photo record when the technician leaves.
Written by Marcus Deller, Owner at Servo Garage Doors Sandy Springs, serving Sandy Springs since 2015.