
Full 25-point door and opener safety check with every visit - springs, cables, rollers, tracks, and your LiftMaster or Chamberlain opener included
You get a price before we start. It does not change when the truck arrives.
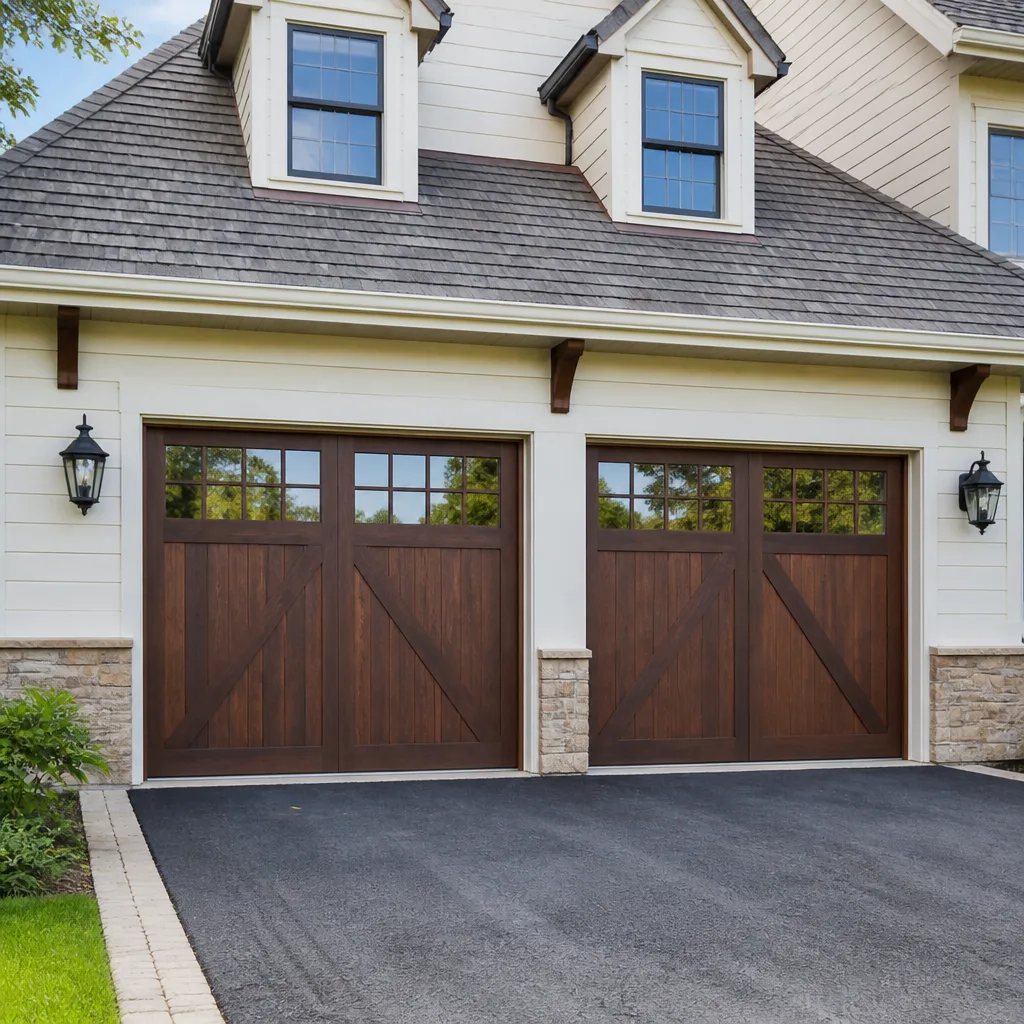
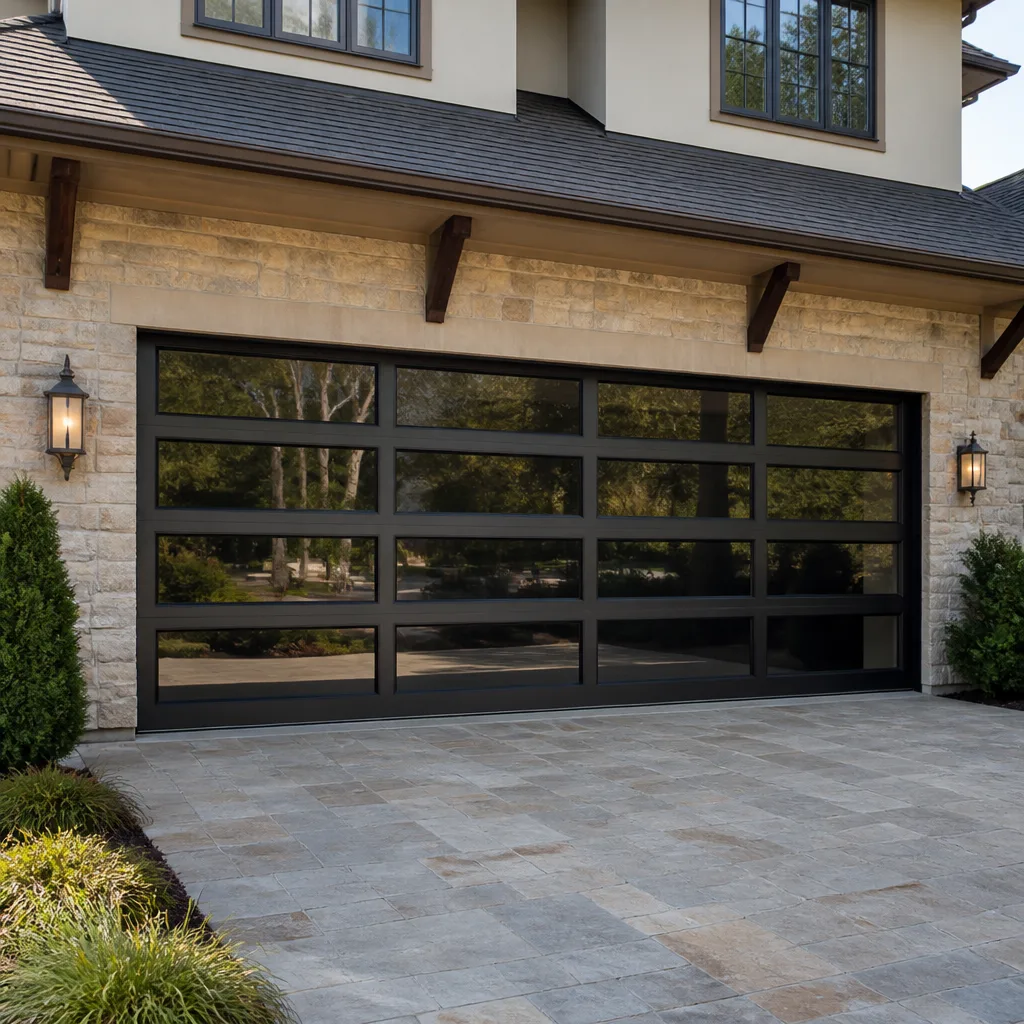
Modern flush
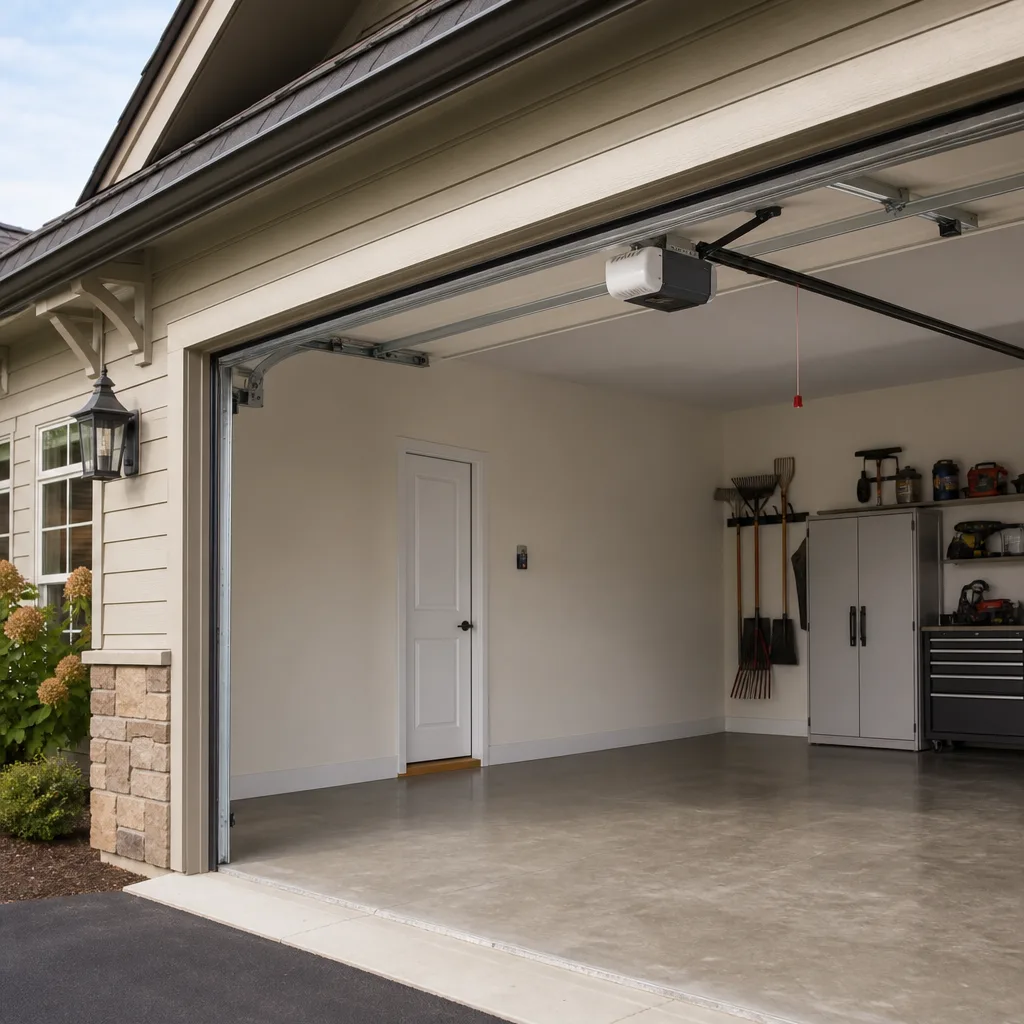
LiftMaster openers
 Before
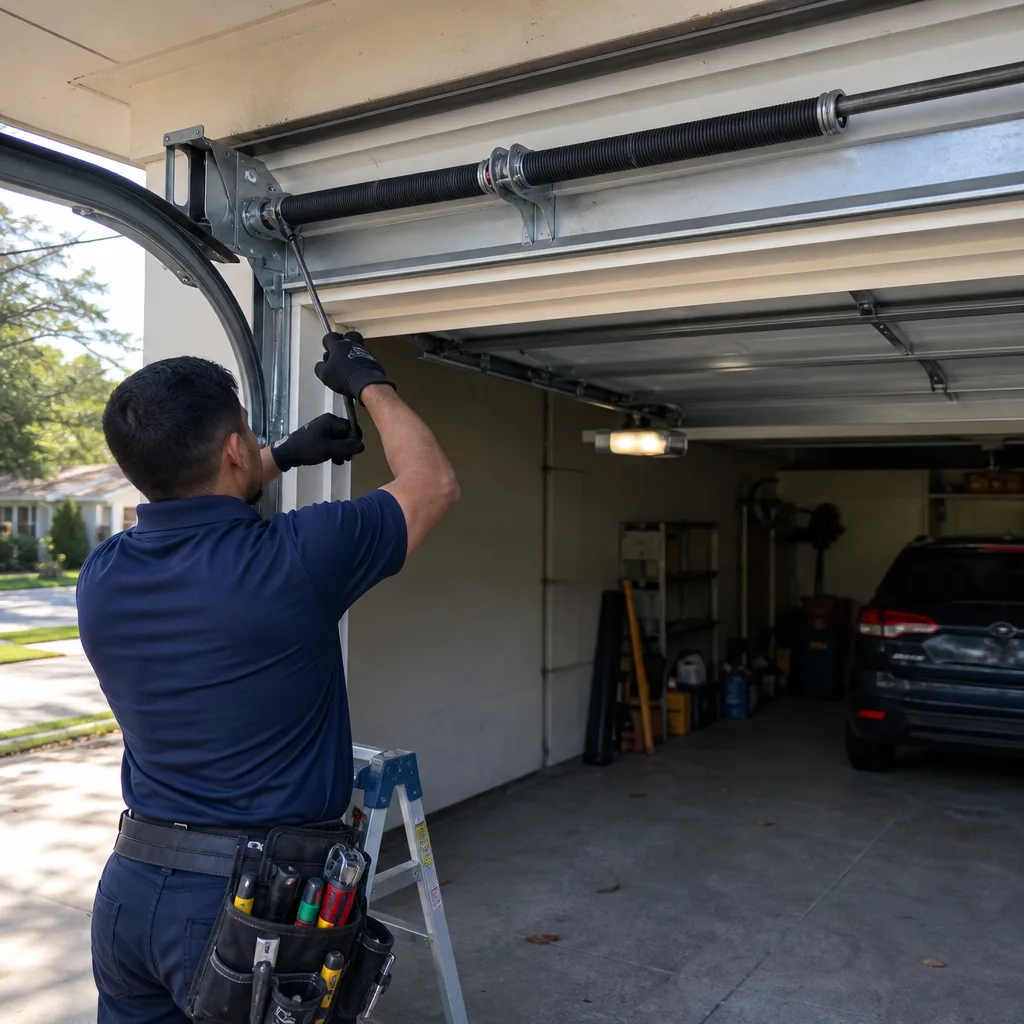 After
After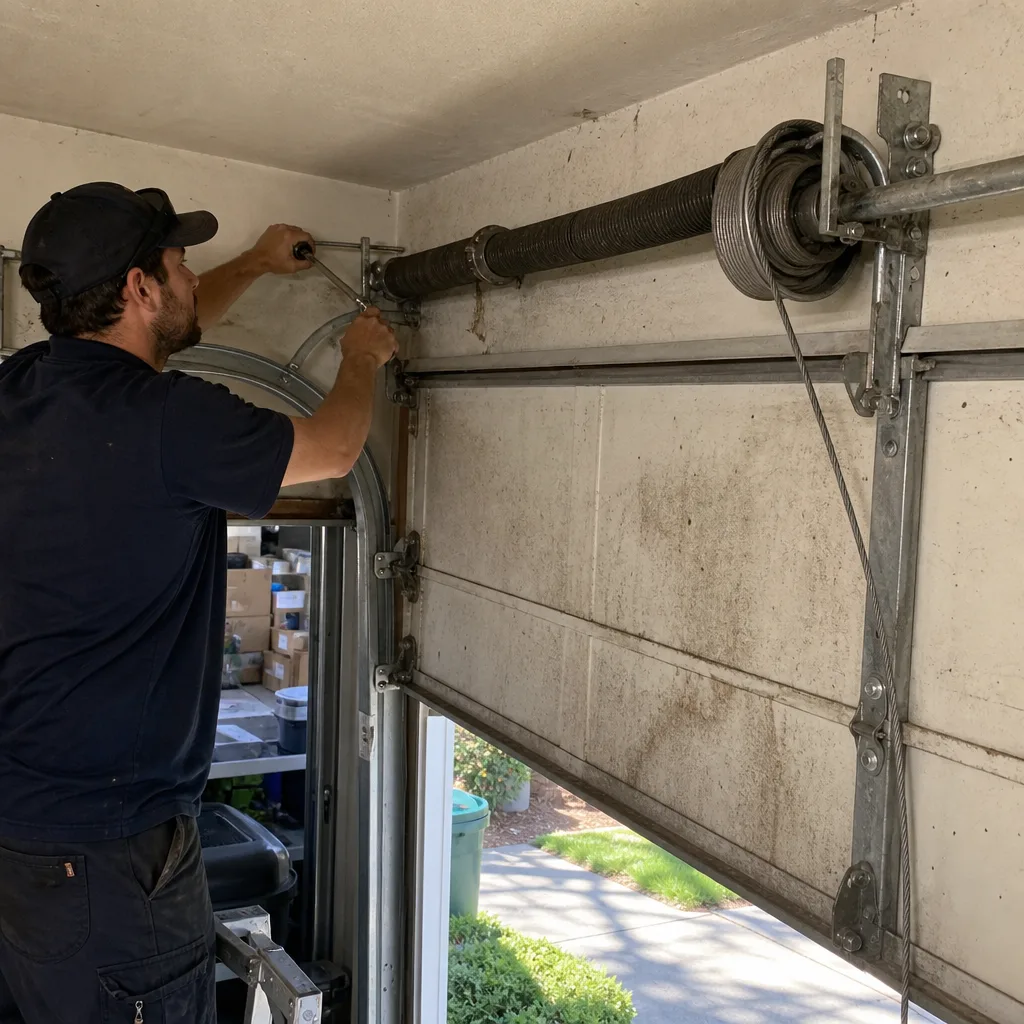 Before
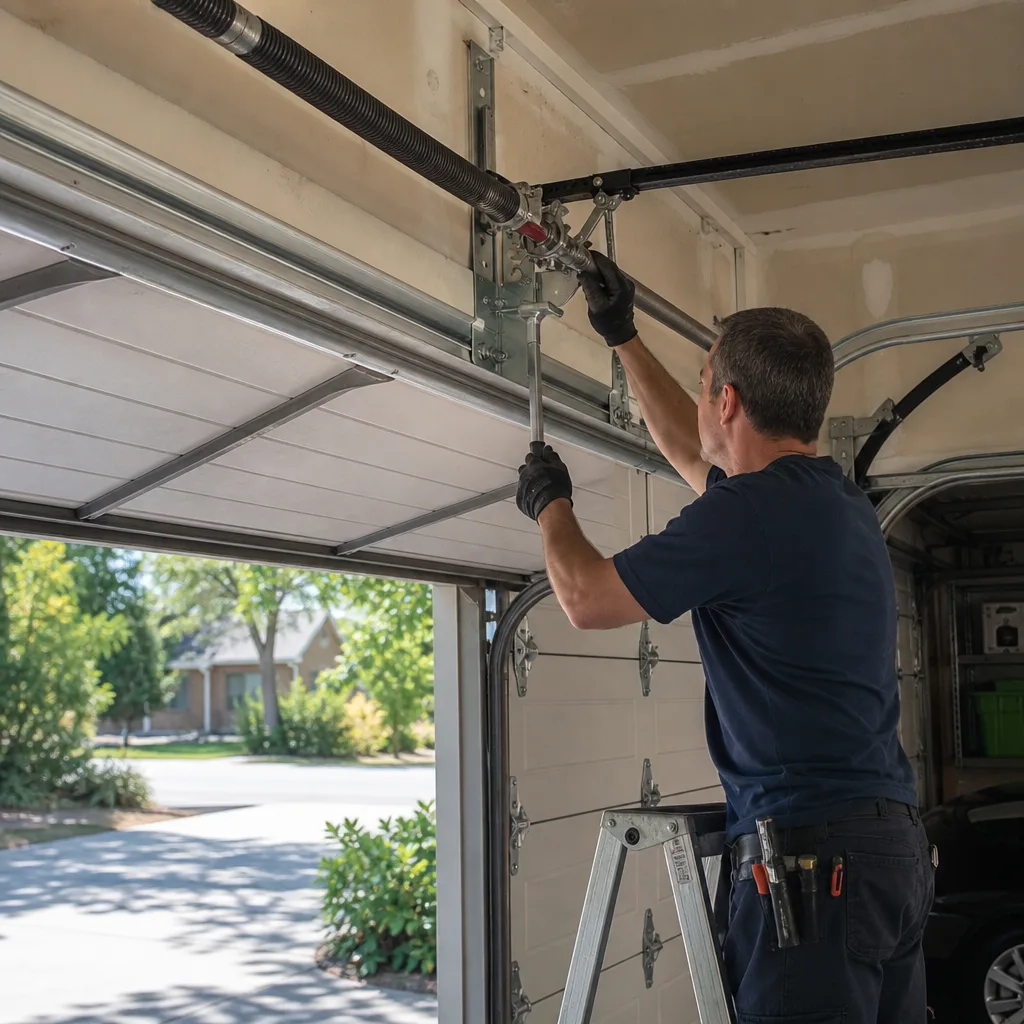 After
After Before
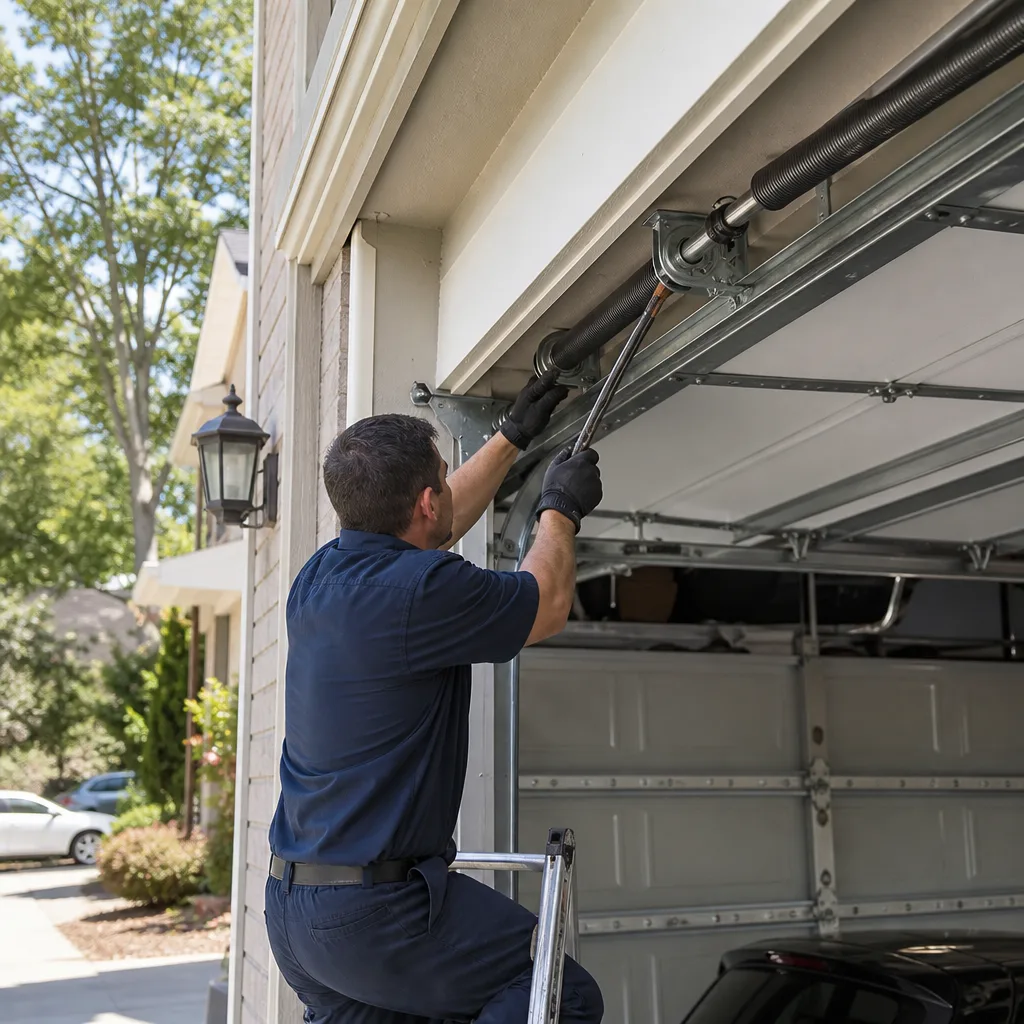 After
AfterLiftMaster Opener Logic Board Repair: The Sandy Springs Owner’s Guide
LiftMaster opener logic board repair in Sandy Springs runs $120 to $320 installed, and most jobs are finished same day because we carry the common boards on the truck. The logic board is the circuit board inside the opener head that receives the signal from your remote or keypad and tells the motor what to do next. When it starts to fail, the opener behaves like a car with a flaky computer: sometimes it responds, sometimes it doesn’t, and there’s no mechanical rhyme to it.
Most Sandy Springs homeowners discover the problem one morning when the wall console works but the remotes don’t, or when the door opens halfway and stops for no reason the owner can find. You’ll stand there pressing the remote four times before the opener finally moves, and you’ll wonder whether it’s the remote batteries. It’s usually not. The batteries are almost never the problem.
Key takeaways:
- Installed logic board replacement for a LiftMaster opener in Sandy Springs typically lands between $120 and $320, parts included.
- We carry boards for LiftMaster Security+ 2.0 and older Security+ lines on the truck, which means one visit instead of two.
- The board is a low-voltage component, but the opener head sits near high-tension door hardware, so we handle the swap while you stay off the ladder.
- Every job gets a written price before we touch anything. Clause 1 of The Haven Standard, no exceptions.
Which LiftMaster Models This Applies To
Most LiftMaster openers made since the mid-1990s use a replaceable logic board, but the exact board depends on the opener’s drive type and radio frequency. If you’ve got a belt-drive or chain-drive unit from the 8500, 8550, 8360, 8160, or Chamberlain-compatible equivalent lines, we can usually match the board by the model number printed on the opener’s side label. That label lives under the light cover or on the rear panel of the motor housing, and it’s the first thing our technician photographs on site.
The compatibility gotcha with LiftMaster is the radio protocol. Openers built after 2011 run Security+ 2.0, which uses a different frequency and encryption than the older Security+ boards. The two are not interchangeable, and a board purchased by model-year guesswork usually comes back. We match the actual part number on the failed board to the replacement before ordering anything. Aftermarket replacement boards exist and we’ve installed them where they make sense, but for LiftMaster openers we generally use OEM LiftMaster boards. The price difference is modest, the compatibility risk disappears, and the board carries a manufacturer warranty we can put in your hand.
Signs Your LiftMaster Opener Logic Board Is Failing
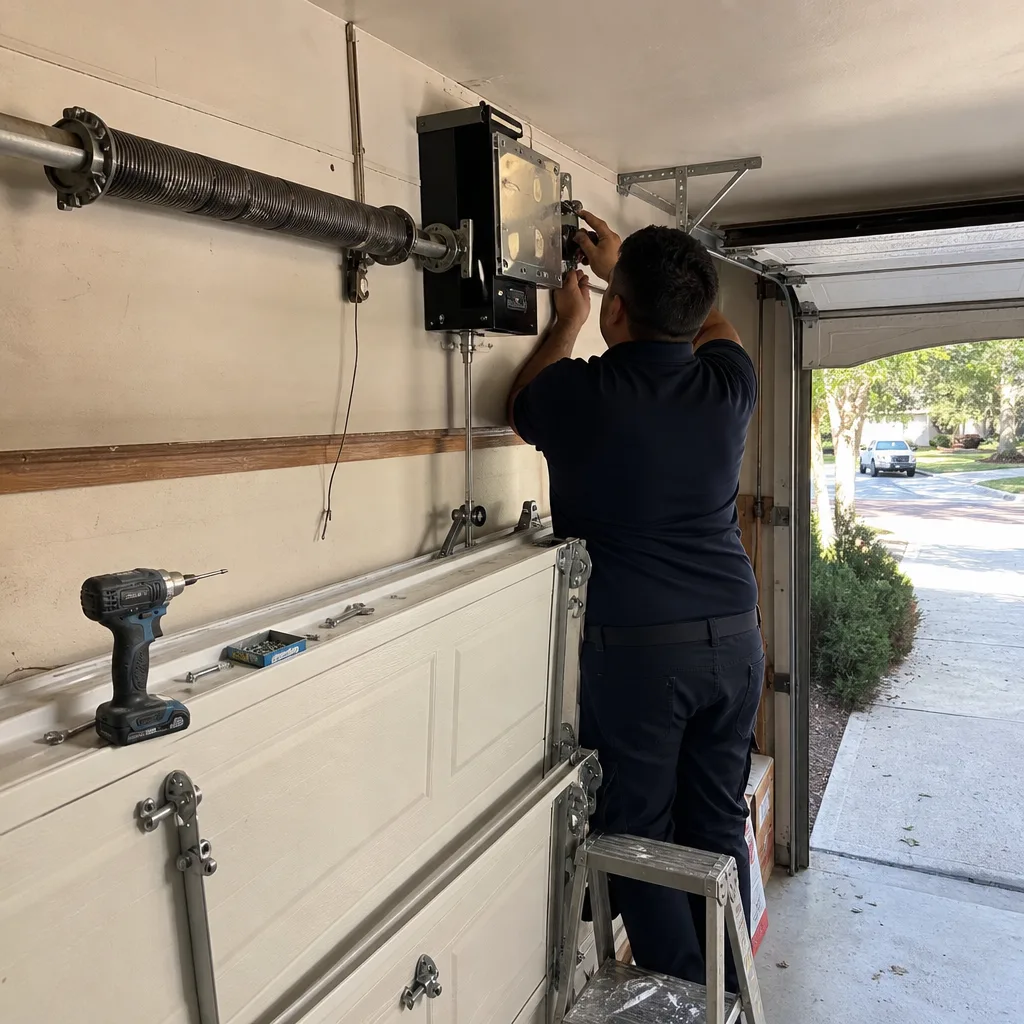
- Remotes and keypad stop working, but the wall console still operates the door. The wall console is hardwired, so it bypasses the board’s radio receiver. When the wireless path is dead but the wired path works, the board is the prime suspect.
- The opener runs one cycle and then goes unresponsive for an hour. Heat-related solder failures on the board’s power section are common in Georgia garage ceilings, where summer temperatures climb well past 100 degrees. The board works when cold and quits when warm.
- The learn button won’t pair new remotes or the indicator light won’t stay lit. The learn circuit lives on the logic board. If the button doesn’t respond or the LED behaves erratically, the board has likely failed rather than the remote.
- The opener reverses direction mid-cycle for no visible reason. A failing processor on the board can misread limit switch inputs, so the opener thinks the door hit something and reverses. The safety sensors are usually fine in these cases.
- Intermittent grinding or relay clicking from the opener head without door movement. The relays that send power to the motor sit on the logic board. When they chatter or fail to latch, you’ll hear the click but nothing moves.
BeforeAfterReplacement Cost & What’s Included
In Sandy Springs, a LiftMaster logic board replacement runs $120 to $320 installed. The range depends on which board your opener takes: the newer Security+ 2.0 boards with integrated Wi-Fi sit at the upper end, while the older single-frequency boards start lower. The price you get from us is the price on the invoice. Written, flat, before any work starts, per Clause 1 of The Haven Standard.
What’s included in that number, line by line:
- The replacement logic board itself, OEM LiftMaster wherever available.
- Removal of the old board and installation of the new one.
- Full reprogramming of remotes, keypad, and wall console to the new board.
- Verification of the safety sensors and force settings so the door runs correctly after the swap.
- A documented photo record of the failed board before removal and the new board after installation. Clause 4 of The Haven Standard: you see the failed part before anyone quotes a replacement.
Our work carries the 365-Day Done Right Promise. If the replacement board fails inside a year, we make it right. No fine print, no pro-rating.
DIY or Call Us?
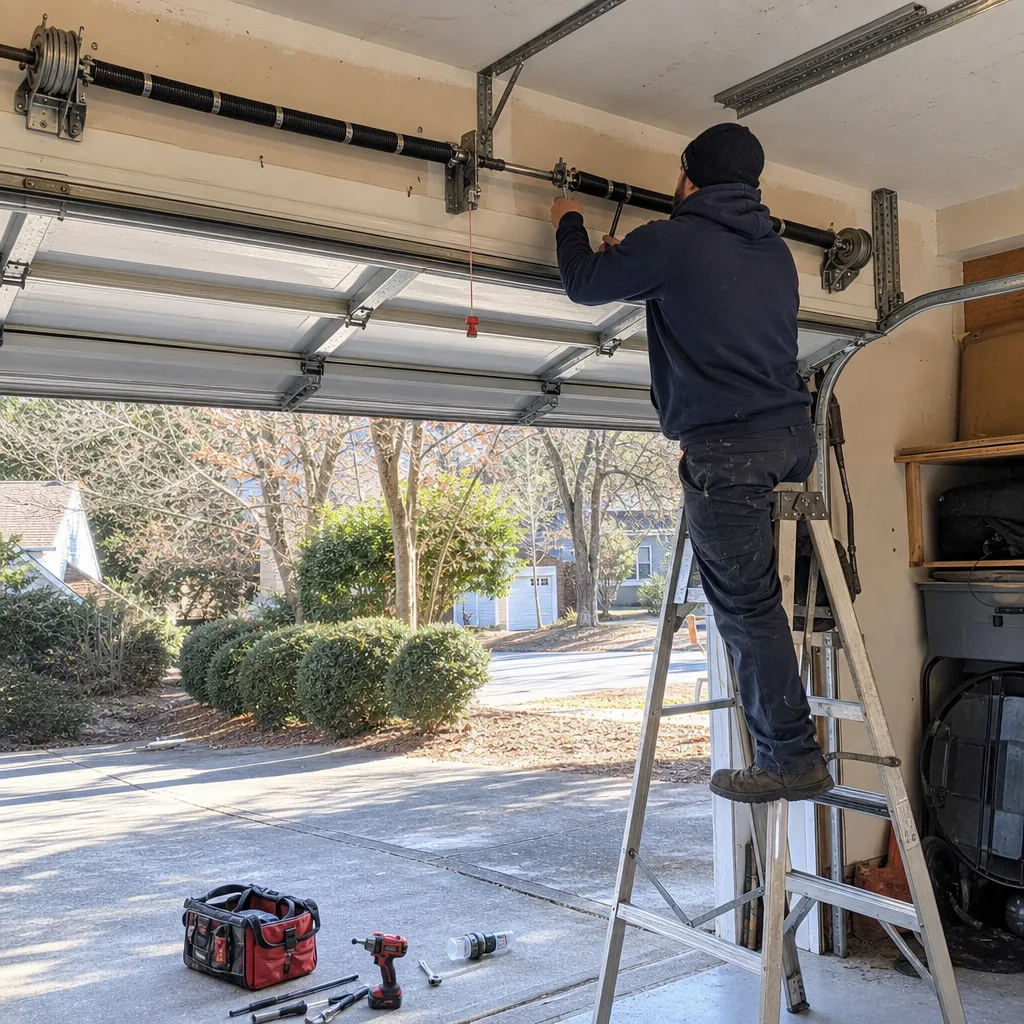
You can safely check a few things before calling: confirm the opener has power and isn’t tripping a GFCI outlet, check whether the wall console works, and visually inspect the board for burnt components or a swollen capacitor. That information helps us diagnose faster, and we’ll ask about it when you call.
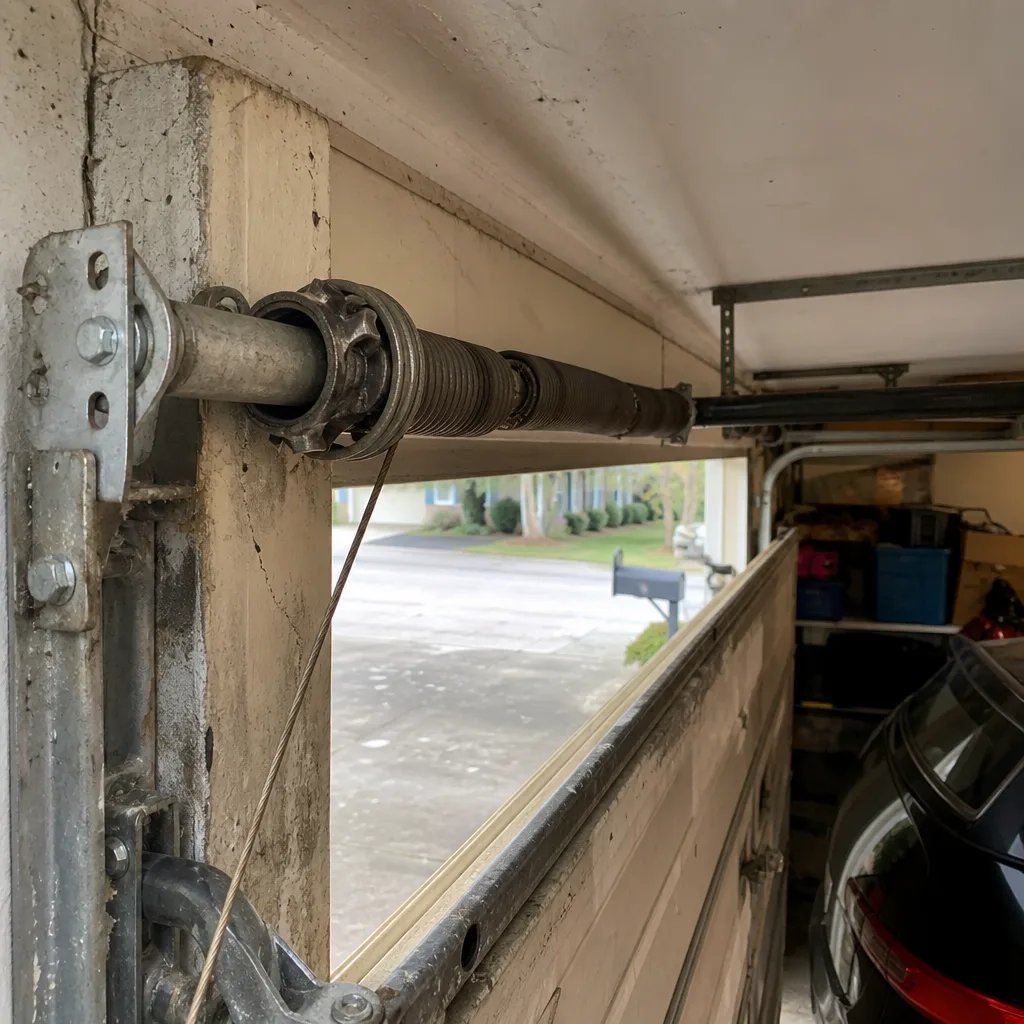
What we don’t recommend is swapping the board yourself. The board itself is low-voltage, but it sits inside the opener head two feet from a high-tension torsion spring assembly, and you’re on a ladder reaching into a motor housing with 120V wiring running through it. One slip in the wrong direction there is a hospital trip or a door that comes down unarrested. Marcus Deller put it plainly on a job up near Abernathy Road last fall: “Name the part, quote the range, then pick up the wrench.” We’ve got the range right here, and we’ve got the wrench. Call (470) 944-6743 and we’ll get a technician out to you.
FAQs
A LiftMaster logic board typically lasts 8 to 12 years in Sandy Springs, though Georgia’s summer heat cycles can shorten that to 6 or 7 years in uninsulated garages. The boards fail from solder joint fatigue and capacitor aging, not from anything you did wrong.
In most cases, no. Board-level repair means reflowing solder or replacing individual components, and the labor cost exceeds the price of a new board while still leaving you with a component that’s 10 years old. We replace, we don’t patch, and the new board is warranted for a year under our 365-Day Done Right Promise. That’s the straight answer.
Most LiftMaster logic board replacements take 45 to 90 minutes on site, including reprogramming all remotes and testing the full open/close cycle. We carry the common boards on the truck, so there’s no second visit in most cases. Call (470) 944-6743 for a same-day appointment.
We stock LiftMaster Security+ 2.0 and older Security+ boards on the truck and at our Sandy Springs location, covering most openers installed since 2010. If your opener takes a less common board, we’ll know within the first few minutes of the visit and we’ll quote you a written price before ordering anything.
If your LiftMaster is doing something it shouldn’t be doing or not doing something it should, call (470) 944-6743. A real person answers, 24/7, and you’ll get a technician’s name and an on-the-way text, not a callback window. The estimate is free, the price is written, and the failed board gets photographed before anything comes off the wall. That’s how we’ve done it in Sandy Springs since 2015, and that’s how the record will show it. Servo Garage Doors Sandy Springs is an independent service provider, not affiliated with LiftMaster. We also stock boards for Chamberlain and Genie openers.
Written by Marcus Deller, Owner, Servo Garage Doors Sandy Springs at Servo Garage Doors Sandy Springs, serving Sandy Springs and nearby areas.